 noteboard
Make the shot understandable in one place
Start with four editable frames in the storyboard template or add frames to a board. Choose an image, text, or reference for each shot, then add action, sound, and timing notes. Save the shot order before using Export storyboard PDF to create a sequence for review.
Keep the frame number, shot size, action, dialogue or sound, and useful duration notes together. A close-up of a hand needs different information from a wide shot that introduces a place. Write what changes during the shot so someone else can follow the intent without a separate explanation.
Check what the viewer will understand from the sequence
Reorder frames as the story develops and compare alternatives beside the main sequence. Look for the information a viewer needs before the following shot makes sense. A missing transition can be easier to notice while the film is still a collection of frames.
Keep a moodboard group nearby for the overall visual direction. The storyboard describes the shots; the moodboard can show the color, light, texture, or references you want the sequence to share. Reviewing them together helps people connect the story with the look.
Add a production question beside the frame that depends on it. You might need to confirm a location, prepare an object for a close-up, or discuss how long an action takes. That context can stay attached to the relevant shot while the plan changes.
Walk through the video before filming it
Storyboard shots hold the production sequence; presentation frames define the slides you show. Use Build presentation from shots when you want slides based on the current shots. Review and update those presentation frames after changing the storyboard; shot reordering does not automatically keep an existing presentation in sync.
Walk through the board with collaborators, or use Export storyboard PDF for shot pages in the saved sequence order, with notes and continuation pages when needed. Keep the editable board for changes when a rehearsal or location check changes the plan.
Example: plan a short introduction to a maker's studio
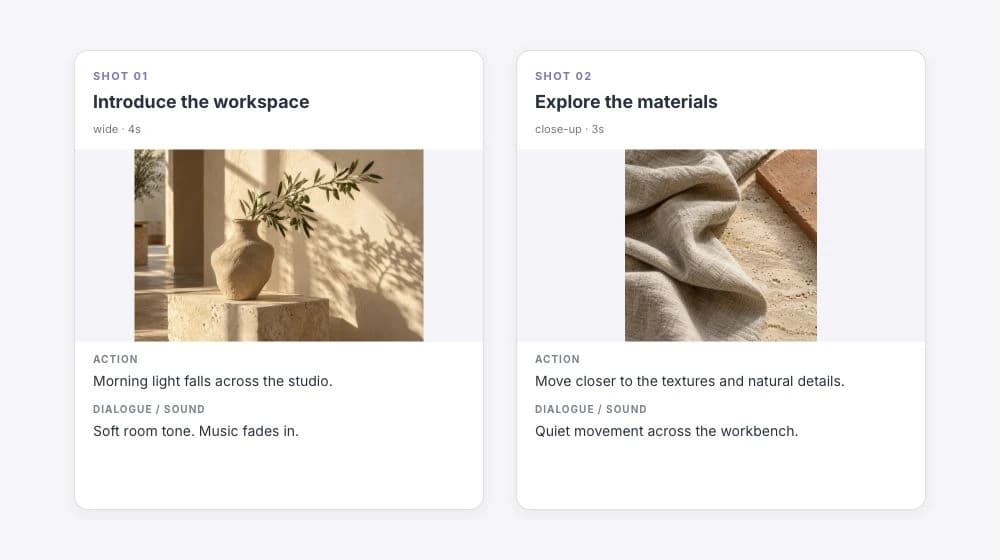
Imagine a short video that introduces the workspace and shows an object being made. The preview uses a wide space reference and a close-up material reference. The following sequence shows how the idea could develop into shot notes.
These are illustrative planning choices. Replace the references and actions with the actual setting, person, and process you intend to film.
| Shot | Image and action | What it contributes |
|---|---|---|
| 01 · Wide | Introduce the studio and the maker entering the space | Give the viewer a setting and a person to follow |
| 02 · Detail | Show the material and the first working movement | Make the process concrete |
| 03 · Medium | Show the maker adjust the work and continue | Explain a change rather than repeating the same action |
| 04 · Close-up | Hold on the finished small object | Give the result enough attention to read |